Tapping Tip-ups
Intrigued with expanding use of tip-ups this winter but feeling somewhat intimidated how to do it?
These tips should help:
Location
Don’t just randomly drill holes and expect success. As with any strategic ice-fishing approach, always review well-defined lake maps in advance, working to identify potential fish-holding structure and related cover. Then you can put those electronics to work on the ice. Use GPS to move directly to your predetermined coordinates, sonar to confirm depth and presence of desirable cover and an underwater camera to focus in on specific combinations attracting fish before placing your sets.
Plan your spread
The trick here is to cover water, and the best way to accomplish this is by fishing in groups. Most states allow at least two lines per angler, so the larger the group, the easier it is to set wide-reaching, efficient spreads.
Review the feature you’re targeting, preparing to position each line strategically across the top key edges and breaks—even over adjacent deep-water pockets if you suspect fish may be suspending or relating to deeper water.
Alignment
Alignment is critical, and something I’ve discovered is a function of depth, slope and water clarity.
When setting up on relatively level flats, widely spaced, zigzagged spreads set parallel to shore within key pockets give the angler a solid strategy for covering water. If fishing distinct breaks—especially those lining primary fish-holding structures like bars, sunken islands or points—setting lines perpendicular to shore is recommended. Positioned directly atop key ambush points and directly along distinct contours lining an inside turn, for example, your presentations will then be strategically aligned within a key migration route between shallow and deep water. Also note that sets may be spaced farther apart in clear water, but kept progressively tighter as clarity fades.
Vertical placement
To help cover water vertically, vary the height of your presentations set off the bottom. When fishing shallow, setting baits just under the ice is often the go-to method, especially if you’re placing those presentations over any form of heavy cover. On mid-depth flats, positioning your baits just over the available canopy of cover—or anywhere from a third to halfway down, depending on conditions—is usually a better bet.
Tip-ups placed over a drop-off or in deep water should be staggered. Those at the top of the break are usually best set higher in the column, and those directly along the edge should be placed about halfway down. Ones off the break can be positioned somewhat deeper, anywhere from just above the bottom to one-third of the way up.
Regardless of depth, another good rule of thumb is to keep your baits positioned slightly higher than normal and above cover during overcast conditions. This is also when fish are more likely to be actively cruising and are slightly lower than normal or nearer to cover on bright sunny days and they’re likely to settle and move less.
Leaders
If you’re fishing at night in dark-colored water or fishing aggressive species, the leader choice may be of little consequence—none may be necessary at all. Yet most conditions dictate the use of a leader between your traditional braided Dacron backing and business end of your presentation.
A simple 6- to 18-inch length of monofilament in a suitable strength is ideal. Diameter and color for this is often sufficient, but when facing bright, clear-water conditions and spooky fish, a longer, lighter, less visible length of fluorocarbon may be more applicable. When fishing larger, toothier species, many anglers resort to heavy fluorocarbon, strong, thin braids, or even wire as the leader material of choice.
Rigs
Experimentation pays.
Standard hook and split shot rigs catch fish, but adding attractors such as colored yarn, beads, rattles, blades and other attention-getting extras in various styles and sizes can be difference makers, too. Furthermore, specialty rigs like quick-strike or hot-rig variations allow faster, confident hook-sets, increasing hooking percentages while generally resulting in less injury to fish destined for release.
You can be among the first to get the latest info on where to go, what to use and how to use it!
Hook style, size
While trying various rigs, always take hook style and size into consideration as concrete variables.
The debate here could begin between anglers favoring trebles or singles—after all, depending on the situation you’re facing, weighing the benefits of using larger, multi-pointed treble hooks versus smaller, lighter Tru-Turn or circle style hooks, can certainly provide distinct advantages.
Now add in the various sizes and colors available in each style, and an entire new world of fascinating alternatives suddenly unfolds. At first glance, the variance between these designs may not appear significant, but if you’re fishing fussy, spooky fish in clear water during brighter conditions after a winter cold front, incorporating lighter, smaller, chemically sharpened single hooks won’t weigh down smaller finesse presentations—finicky fish closely inspecting such presentations aren’t as likely to sense anything out of place, turn and swim away. These lighter, smaller hooks also aren’t detected as easily by tentatively biting fish, offering improved hooking percentages when they’re lightly mouthing baits. Then again, aggressive, hard-biting trophy pike usually aren’t intimidated in the least by larger, heavier, wider-gapped treble hooks—assuming you’re using larger minnows, these larger hooks not only won’t impede bait action, but for all practical purposes, they just may be necessary to ensure proper hooking.
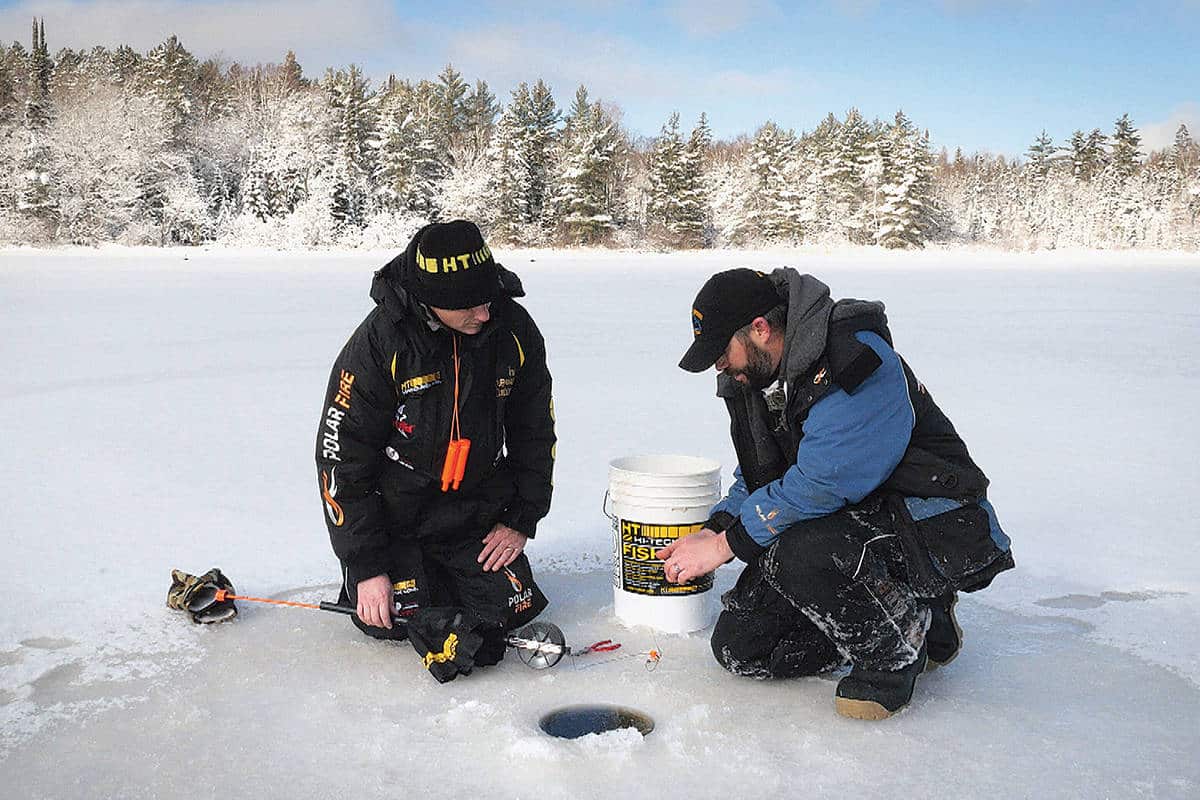
Bait style, size
This should go without saying. But there are times when suckers might outperform shiners or when hardy chubs will top any other bait selection. Depending on the conditions—density, selection of natural baitfish, their size and profile—small- or large-sized minnows may actually be preferred. The only way to make such determinations is through controlled experimentation.
There are also instances when dead or select cut baits will outproduce live ones, or during special situations such as when fishing Great Lakes trout, where freshly prepared spawn sacs suddenly become the bait of choice. Just keep an open mind and be flexible.
Hooking methods
Hooking methods can be critical. When fish are less active, finding a balance between lightly slipping the hook into the bait so hook points find home easier vs. having them positioned deep enough so baits can’t easily be pulled off the hook each time light-biting fish nip at a minnow’s tail, is always a challenge.
I’m always surprised by how few tip-up anglers think about how hook positioning and angle-effect hooking percentages—much less putting the variations in—can help them. Yet based on inherent habits of your quarry, the prevailing conditions and placing hooks so points are aimed opposite the anticipated direction of biting fish while permitting the maximum amount of force from your hook-set to transfer through to the hook point, are both critical factors not to be overlooked.
If you suspect your targeted species will strike at the head, aim your hook points toward the tail. Anticipating a side shot? Position the points straight up. Also, make sure your knots are tied directly at the top of the eye and haven’t slipped, being certain every bit of hook-set power is transferred exactly where it should be. Slipping knots defer energy and create weakened hook-setting power that can ultimately result in lost fish.
Move and maintain
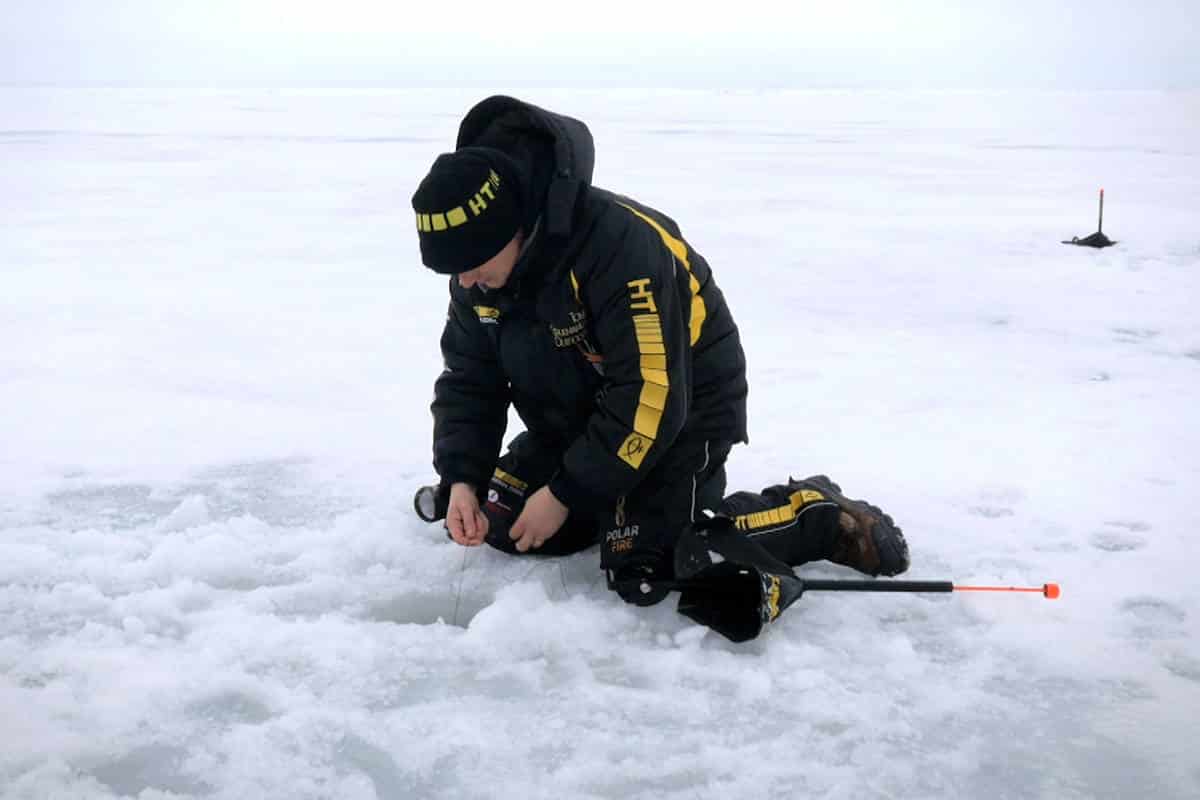
Finally, always have plenty of extra holes drilled so you can move and adjust your tip-up sets to cover water. And, regardless of where they’re placed, always take the time to maintain each one.
Check lines regularly to be certain your baits haven’t come off the hooks—yes, this does happen and soaking plain hooks isn’t an effective means of increasing your odds. In addition, be sure your presentations are remaining positioned at the intended depths, all lines are clear of debris, each spool is turning freely, flags are properly set in place and every hole is periodically skimmed to minimize ice formation or build-up of blowing snow.
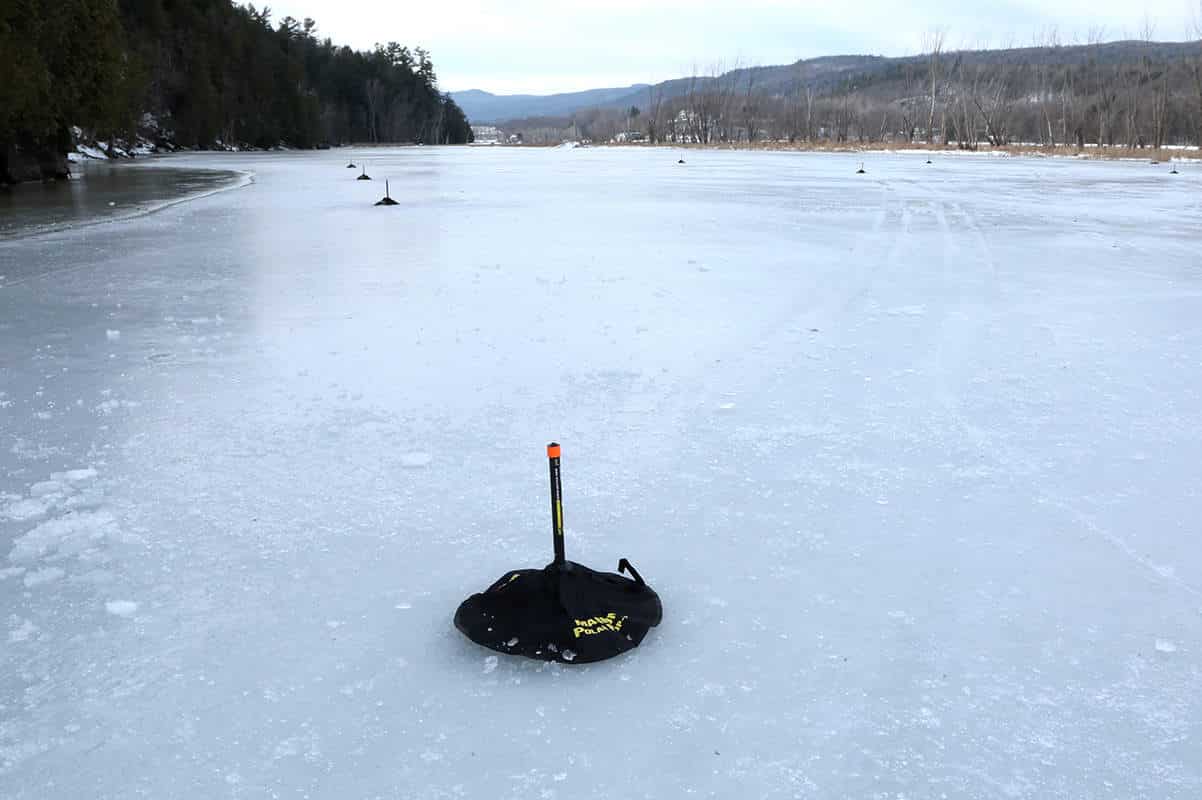
Tip-up selection
Different types of tip-ups offer features providing distinct advantages, and you’ll want to select models that best fit the anticipated situation.
Premium classics like HT’s Polar feature underwater spools and sealed, lubricated tube mechanisms that ensure the trip workings always rotate smoothly. Plus, they are guaranteed to never freeze-up, even if the hole around the tube does. Also, adjustable height settings allow you to control and fine-tune trip tension.
Unlike classic underwater designs, wind tip-ups, such as the Windlass, provide the distinct advantage of keeping your bait moving. But limitations are a factor because wind is necessary to gain the most benefit. And since the spool is positioned above water, it may be vulnerable to freezing up. On the other hand, hole-cover tip-ups like the Polar Therm not only maintain the centralized, sealed tube mechanism and freeze-proof underwater spool design, but integrated hole-cover frames completely seal the holes so there’s no concern with them freezing or stiff winds creating solid masses of hole-plugging snow around unprotected lines.
High-profile high-visibility tip-ups, like the Arctic Bay, feature elongated bodies and high-reaching flags, making them especially helpful when fishing deep snow. Polar Pop-Ups, with their select magnetic trips, are compact, lightweight, plus completely freeze-proof and also windproof.
Did you enjoy this post?
You can be among the first to get the latest info on where to go, what to use and how to use it!